Tuesday, 26 January 2016

Large Depth of Field

Camera Settings
ISO: Various
Aperture: Various
Shutter Speed: Various


Body: Nikon D5200
Lens: 18-55mm/35mm

A large depth of field is when you capture a picture with most of the photograph being in focused. By having a lens such as the 18-55mm, you can zoom out all the way to 18mm and capture a wide photograph with everything within in being in focus. 
Below are several examples of photographs demonstrating a large depth of field. 

Exposure (1/125 sec.)   ISO-1000    F-stop-f/1.8

Exposure (1/10 sec.)    ISO-1600   F-stop-f/3.5

Exposure (1/400 sec.)    ISO-100    F-stop-f/2.8

Shallow Depth of Field

Camera Settings
ISO Various
Aperture Various
Shutter Speed Various

Body: Nikon D5200
Lens: 18-55mm

Achieving a shallow depth of field to your photographs can vary on the lens you have, as lenses have different f stops they can achieve, along with focal range. The lower your aperture is and the closer focusing distances then mean your are able to achieve a much more shallow depth of field.
When taking these pictures I had used an 18-55mm lens, from which I then zoomed in as far I can and focused on my subject, and what a shallow depth of field will do to your photograph is separate your subject clearly from the background.
Examples below are taken with a shallow depth of field. 


Exposure (1/1000 sec.)    ISO-160    F-stop-f/5.6

Exposure (1/50 sec.)    ISO-1000    F-stop-f/5.6

Exposure (1/250 sec.)    ISO-250   F-stop-f/7.1

Tuesday, 5 January 2016

Light Graffiti


Settings: ISO 100
               Shutter Speed 15"
               Aperture 3.5

Equipment: Torches, LEDs, anything with a portable light etc.
                    Shutter release remote
Body: Canon 70D
Lens: 18-55mm

(Note that these should be done in dark areas)

Once everything is in position you can then then hit the shutter release remote and with the duration you have set your camera you can get creative with how you chose to draw with the light, however make sure you stay within frame when doing so. The result photos should look like some of the examples above.


s


Tuesday, 13 October 2015

Blurred Movement

Settings: ISO 100
               Shutter Speed: 1/30-1/50
               Mode: S (Nikon) 
                          TV (Canon)
               Aperture: f/3.5
Body: Nikon D5200
Lens: 18-55mm


To achieve the blurred movement look you must have a lens which is capable of zooming in and out, such as the standard 18-55mm kit lens.
Once you have the recommended settings above you then then begin with your lens zoomed as far as it can go, and once you have your subject in frame you take the picture, and at the same time zoom your lens in towards your subject.
Some results should look like the examples taken below.


Frozen Movement

Camera Settings
ISO 100
Aperture f/9
Shutter Speed 1/60

Body: Nikon D5200
Lens: 18-55mm

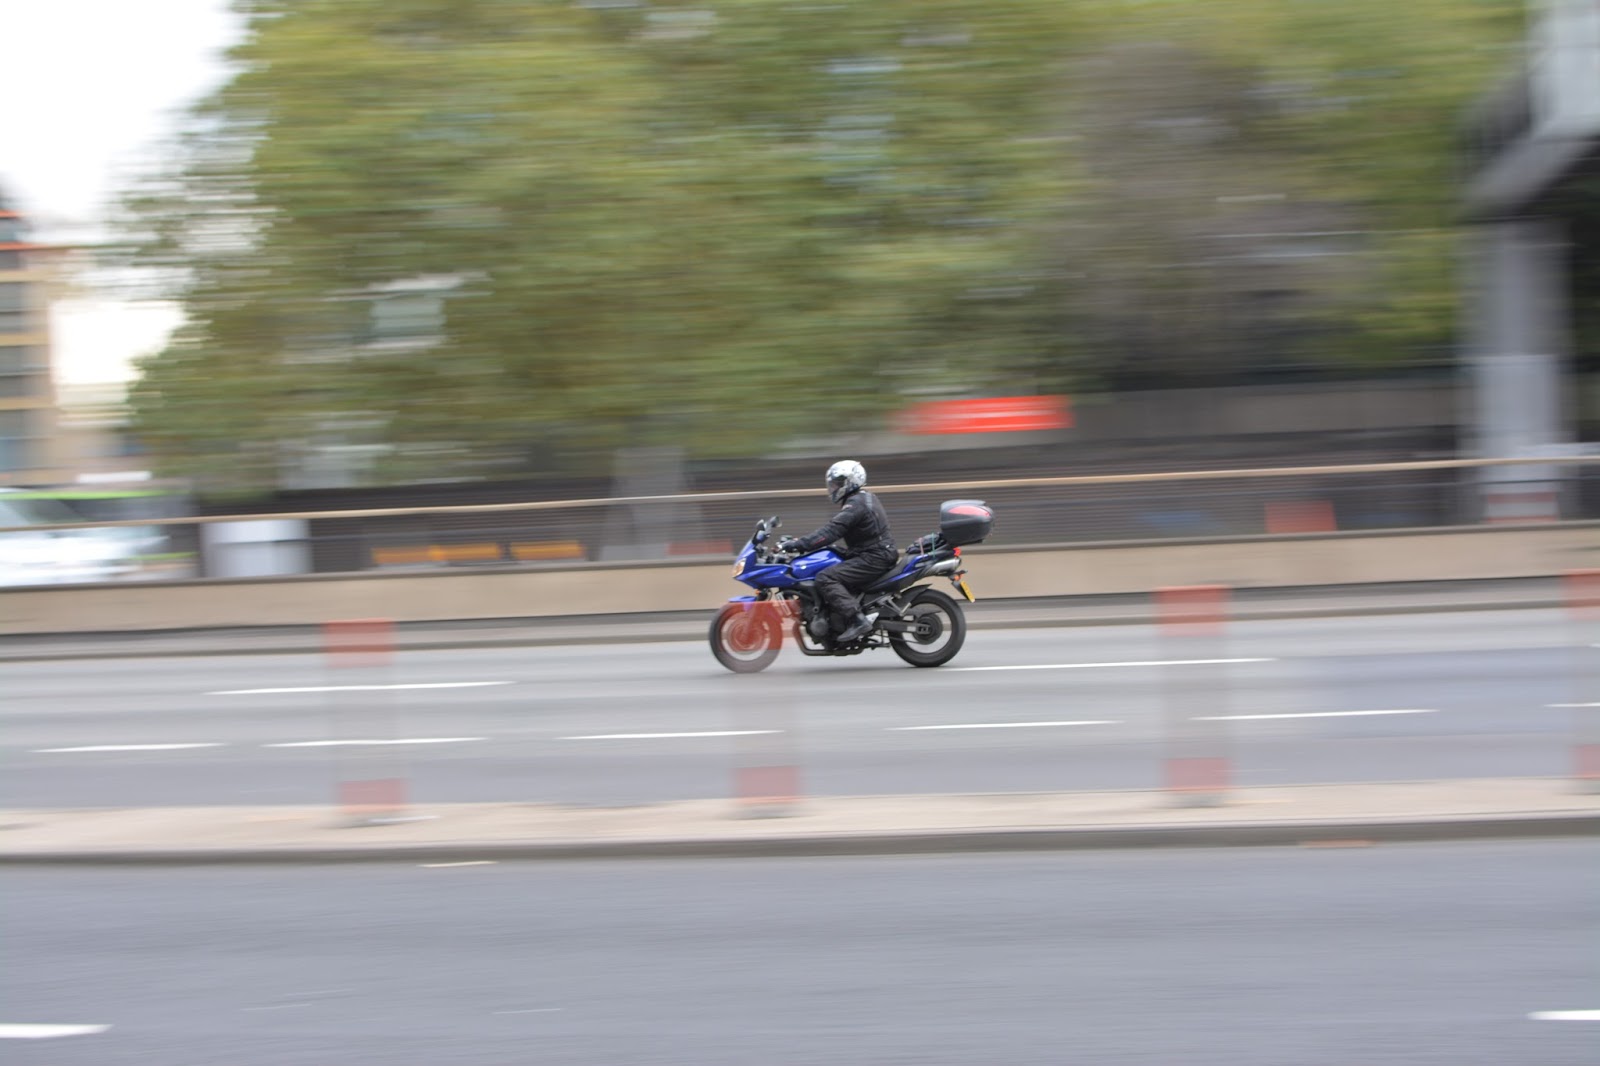
To achieve a photo in which your subject looks frozen in a blurry background you have to adjust the camera settings. Having a low shutter speed such as 1/60 you allow the shutter to open for a significant amount of time thus creating a blur in movement, and this blur will happen to the background when you are tracking your subject. However by having a long shutter exposure a lot of light will be let in, and this is why we change the aperture to f/9 as this reduces the amount of light that is let into the lens.
To achieve frozen movement your subject must be moving, below are examples taken by are road and the subjects are vehicles.